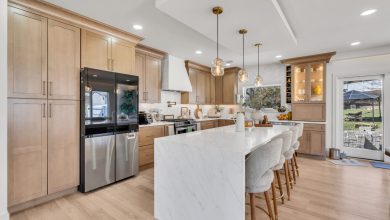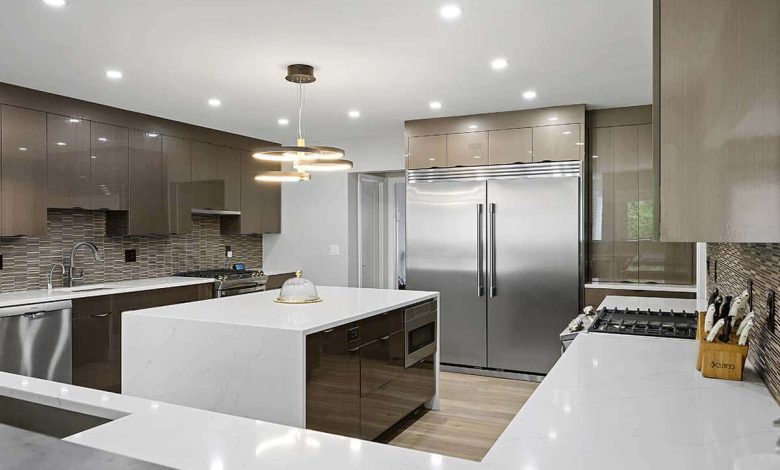
Renovating a kitchen or bathroom is one of the most impactful ways to update your home. These spaces require materials that are durable, water-resistant, and easy to clean, making tile the undisputed material of choice. Homeowners spend hours selecting the perfect tile material, color, and texture, matching it carefully with countertops and cabinetry.
However, there is a critical design element that often gets overlooked until the final moment: the tile installation pattern. The layout pattern you choose can completely transform the aesthetic of a tile, shifting it from traditional to modern, or from simple to avant-garde. The right layout can make a small bathroom feel expansive, a low kitchen ceiling appear higher, or turn a standard subway tile into a stunning focal point. Navigating these layout patterns requires an understanding of both geometry and visual balance.
Why the Layout Pattern Matters
A tile pattern acts as a grid for the eye. It dictates how light reflects off a surface, creates shadow lines through grout placement, and establishes movement within a room.
Selecting a pattern is not just about aesthetics; it is a functional tool used to manipulate the perceived dimensions of a space. For example, linear patterns tend to draw the eye along their path, while grid patterns provide a sense of stability and structure. When deciding on a layout, you must consider the size of the room, the amount of natural light available, and the architectural style of your home.
The Classic Grid: Clean, Timeless, and Direct
The straight-set grid pattern is the simplest and most traditional installation layout. Tiles are laid precisely aligned in straight rows and columns, creating a uniform, repetitive square or rectangular grid.
-
The Visual Effect: This layout emphasizes clean lines, symmetry, and architectural structure. It acts as a calm, neutral backdrop, allowing other elements in the room, like an ornate vanity or a bold kitchen range hood, to take center stage.
-
Modern Evolution: While a classic horizontal square grid can sometimes look utilitarian, rotating it into a vertical stack layout gives it an immediate mid-century modern or contemporary aesthetic. Vertical stacks make low ceilings feel higher by drawing the eye upward.
-
Best Uses: Excellent for minimalist kitchens, contemporary bathroom accent walls, and when you are using a highly patterned tile that would become chaotic if installed in a complex layout.
The Running Bond: Stability and Subtle Movement
Also known as the brick or offset pattern, the running bond is the absolute gold standard for rectangular subway tiles. In this layout, each tile is offset by exactly half the length of the tile below it, mirroring the classic look of a brick wall.
-
The Visual Effect: Running bond adds a sense of flow and organic texture to a wall without becoming overwhelming. The alternating joints break up the stark vertical lines of a grid, making the surface feel softer and more integrated.
-
Variations: For a more dynamic look, you can implement a one-third offset, where each tile is shifted by a third of its length rather than a half. This creates a cascading, stair-step effect that feels highly sophisticated and pairs beautifully with larger format tiles.
-
Best Uses: Kitchen backsplashes, shower enclosures, and bathroom wainscoting. It is exceptionally forgiving on uneven or warped walls, as the offset pattern masks minor alignment imperfections.
The Herringbone: Drama and High-End Luxury
The herringbone pattern is achieved by placing rectangular tiles at a precise 45-degree angle to create a continuous series of v-shapes or chevrons. It is a historic pattern heavily associated with luxury European parquetry floors.
-
The Visual Effect: Herringbone is a high-impact pattern that introduces dramatic energy and movement. The zig-zag lines catch the light from multiple angles, highlighting variations in glaze and texture. It instantly makes an inexpensive, basic ceramic tile look like a custom designer choice.
-
Spatial Impact: Because the pattern points diagonally, it expands a space visually. On a kitchen backsplash, it draws the eye horizontally across the countertops, making the kitchen feel wider. On a bathroom floor, it creates a sense of depth that makes compact layouts feel less restrictive.
-
Best Uses: Feature walls behind a freestanding bathtub, full-height kitchen backsplashes, and elegant entryway or master bath flooring.
The Basketweave: Nostalgic Texture
The basketweave pattern mimics the texture of a woven basket. It is created by alternating pairs or triplets of rectangular tiles laid horizontally, followed by an equal number of tiles laid vertically.
-
The Visual Effect: This layout creates a rich, woven tapestry look that feels distinctly nostalgic and crafted. It introduces tactile depth and a cozy, traditional charm to a space.
-
Material Pairings: Basketweave is highly effective when executed with small mosaic tiles or contrasting marble varieties, such as combining white Carrara marble with small square inserts of black Nero Marquina.
-
Best Uses: Classic or historic farmhouse kitchens, traditional bathroom floors, and shower pan bases where a high concentration of grout lines provides essential slip resistance.
Critical Rules for Choosing Your Layout
Once you are familiar with the patterns, you must apply them strategically to your specific kitchen or bathroom footprint to ensure a flawless final result.
-
Factor in the Grout Color: The impact of a pattern is heavily dependent on your grout selection. Matching your grout color to the tile softens the pattern lines, making the overall look subtle and textured. Choosing a contrasting grout color outlines every single tile, turning the pattern into a bold graphic statement.
-
Account for Tile Size: Large-format tiles minimize grout lines and create a sleek, seamless look that expands small rooms. Small-scale mosaic tiles add intricate texture but can look chaotic if used over a massive surface area. Use large tiles for flooring and spacious walls, and reserve smaller tiles for backsplashes, niches, and accent zones.
-
Plan for Waste: Complex patterns like herringbone require significantly more cuts along the edges of the walls than a simple grid pattern. When ordering tile for a straight grid or running bond, adding 10 percent extra for waste is standard. For herringbone or diagonal layouts, you must order 15 to 20 percent extra to account for intricate corner cuts.
Frequently Asked Questions
Which tile pattern is best for making a small bathroom floor look much larger?
A diagonal grid or a herringbone pattern is ideal for making a small bathroom floor feel larger. By shifting the lines of the tile to a 45-degree angle, you trick the eye into focusing on the widest part of the room rather than the narrow walls. This layout prevents the space from feeling like a small, enclosed box and creates an illusion of expansive depth.
What is the difference between a herringbone pattern and a chevron tile pattern?
While they both feature a zig-zag appearance, the difference lies in the tile shape and how they meet. Herringbone uses standard rectangular tiles placed at a 95-degree angle to one another, creating a interlocking woven look. Chevron requires specialized tiles with ends cut at a precise angle, allowing them to meet perfectly at a center point to form a clean, continuous straight line of v-shapes.
How do I choose the correct tile layout for a kitchen backsplash with multiple outlets?
If your kitchen backsplash has numerous electrical outlets, a horizontal running bond or standard grid pattern is the most practical choice. These patterns allow the tile installer to make straightforward, clean cuts around the outlet boxes. Complex patterns like herringbone require intricate diagonal cuts around outlets, which can look messy and disrupt the flow of the pattern design.
Why is it important to consider slip resistance when selecting a bathroom floor tile pattern?
Bathroom floors are frequently exposed to water, creating a serious slipping hazard. Choosing a pattern that utilizes smaller mosaic tiles, such as a basketweave or a small hex grid, introduces a high density of grout lines. These recessed grout joints provide vital friction and traction for bare feet, making the floor significantly safer when wet.
Can I mix different tile patterns within the same master bathroom renovation?
Yes, you can mix patterns, but you must establish a clear hierarchy to avoid visual chaos. A successful approach is pairing one dominant, high-impact pattern with a simple, quiet pattern. For example, you can install a dramatic herringbone tile on the shower feature wall, while keeping the main bathroom floor in a calm, large-format straight grid with matching grout.
What is lippage and how does my choice of tile pattern affect it?
Lippage occurs when the edges of installed tiles are not perfectly flush with one another, creating an uneven, raised lip that can cause tripping or catch dirt. This is a common issue with long, plank-style tiles. If you install long tiles in a 50 percent running bond, the natural bowing of the tile center meets the lowest point of the adjacent tile edge, maximizing lippage. Using a 33 percent offset pattern instead drastically minimizes this risk.